![New Features of Field Service Application in Odoo 16 [Part-1]](/web/image/blog.post/9/author_avatar/New%20Features%20of%20Field%20Service%20Application%20in%20Odoo%2016%20%5BPart-1%5D?unique=3140337)
New Features of Field Service Application
With Odoo, you can manage inventory, projects, warehouses, manufacturing, CRM, and eCommerce. There are many aspects to service-based enterprises, and field service management is just one.
There are many functions included in the Field Service Module, including the ability to create activities, assign responsibilities, track task time, create custom spreadsheets, and manage inventory for effective inventory management.
The field service worksheet’s integration with the inventory app enables employees to manage their responsibilities and update stock information automatically. In addition, the worksheet makes it possible to create service invoices, which ensures payment is made according to the equipment used and the duration of the service.
There are many benefits to Odoo Field Service, including the ability to manage customers, timesheets, schedule, use a mobile app, manage your calendar, import/export data, manage leads, fleets, travel management systems, manage contacts, allow multiple users to access, schedule and track tasks, and visualize route maps. The Field Service Module of Odoo 16 offers a wide range of functionalities.
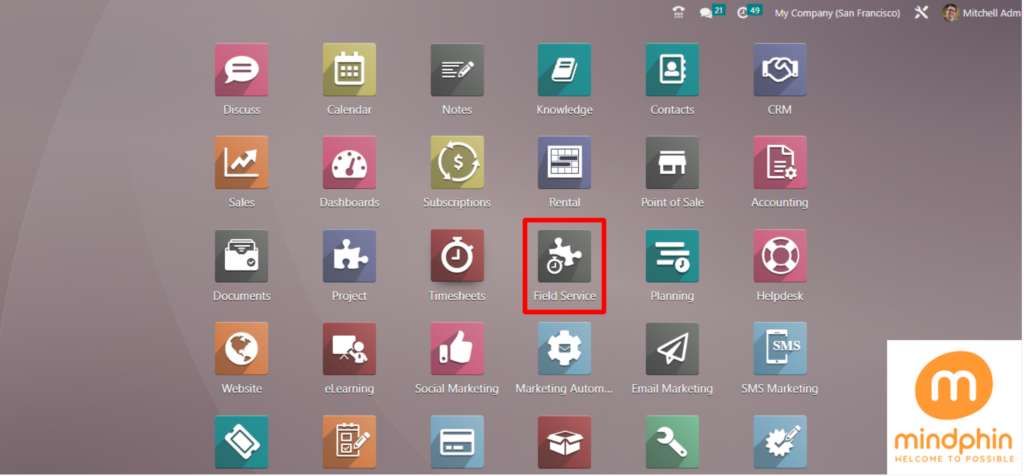
You can open the Odoo 16 Field Service module from the Enterprise edition of the Odoo ERP platform. The homepage of the module will be the first displayed window, as depicted in the screenshot below.

My Tasks Menu
The “My Tasks” menu is the main menu of the Odoo 16 Field Service Module, and it contains two options named “Tasks” and “Maps.”
Tasks Window
Within the Odoo 16 Field Service platform, this window shows a dashboard with various field service tasks. We can see the details of every task within the Kanban preview. In the Kanban view, we can view the Name of the Task, the assigned activities, customer information, the assignee, and the dates arranged in different sections based on the date. A task details form will be displayed when any of the task cards is clicked.
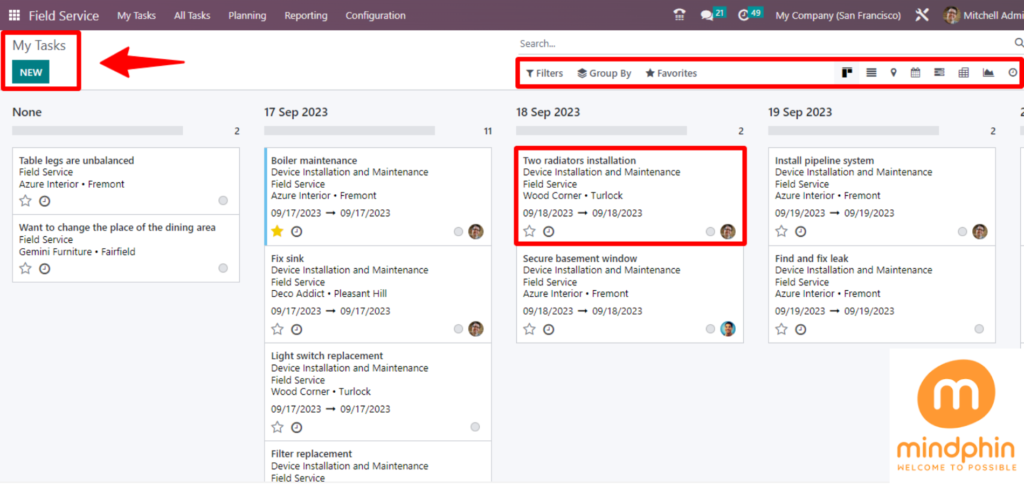
Several visual representation icons are provided on the upper right side of the window, giving you the option to change the default Kanban view. These include Calendar view, List view, Map view, Gantt Charts, etc. The “Filters,” “Group By,” and “Favorites” sections in Odoo allow you to sort and filter your information in a more efficient way.
You can enter details for a new task by clicking the “New” task button in the top left corner, which opens a form exactly the same as the one shown below.
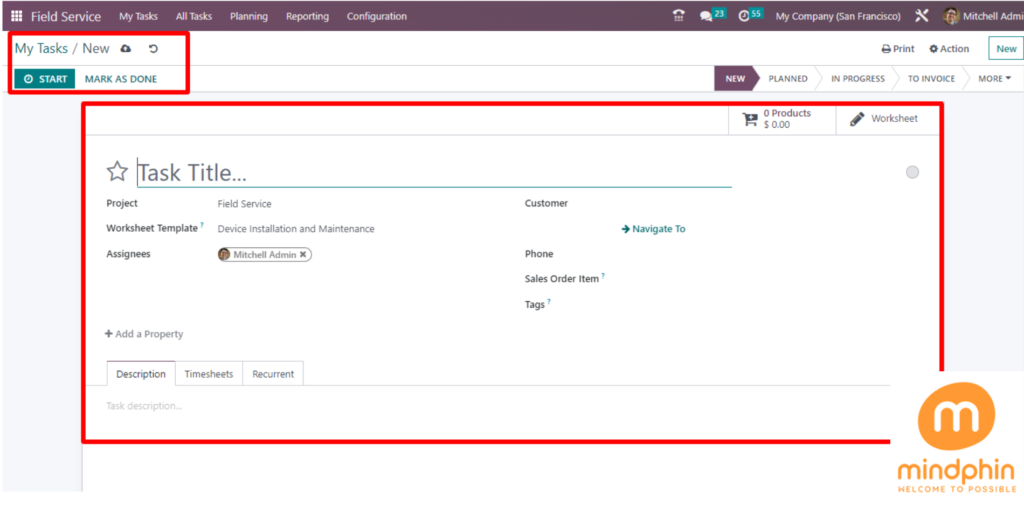
You can edit the Task details, Timesheets, and everything related to the particular task within this configuration form.
Maps Window
Your organization’s tasks will all be shown in Map format under the “Maps” section of the “My Tasks” menu. Regardless of the Kanban view, you can check out the tasks and their information directly from the map view.
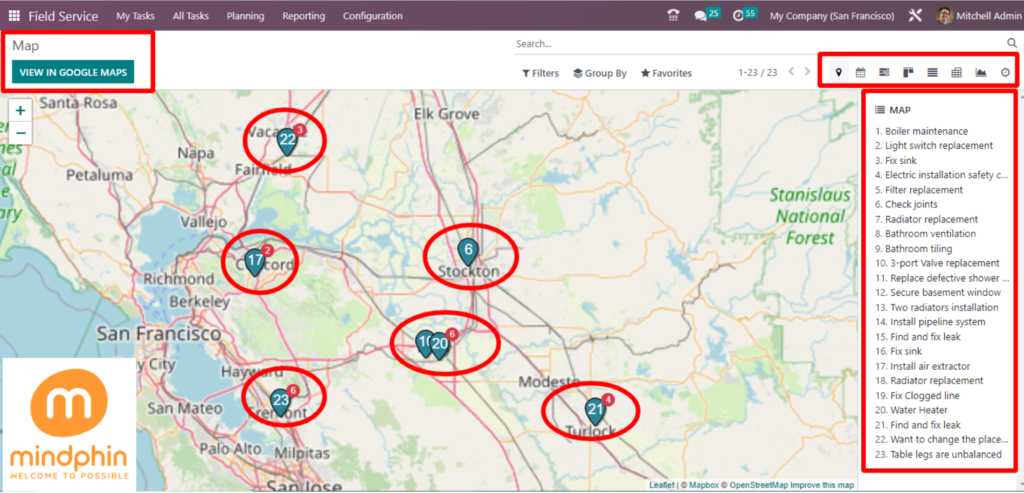
The “Maps” section of the “My Tasks” menu will display all the tasks in your organization in Map format. It is possible to view tasks and their details directly from the map view regardless of the Kanban view. You can see the same sorting functions and different visual format icons on this page too. Clicking on the “VIEW IN GOOGLE MAPS” button will open the Google Maps service webpage so you can exclusively check the service’s site location.
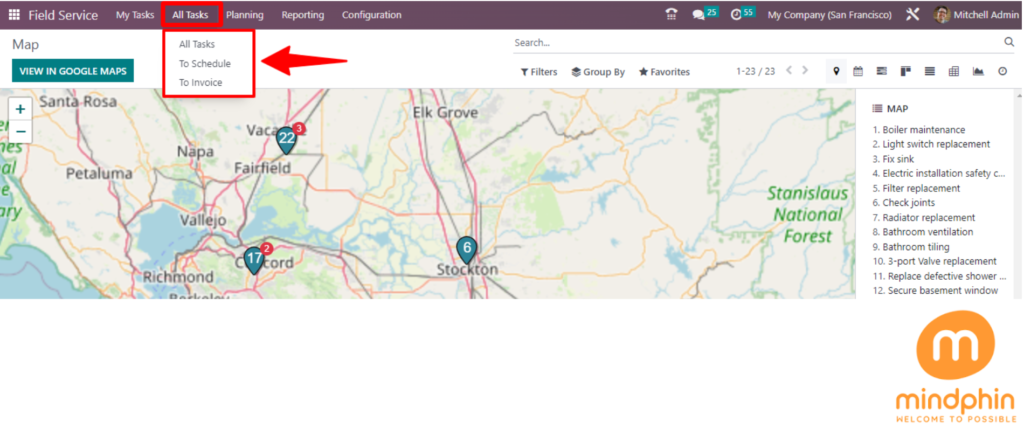
All Tasks Menu
All Tasks provides options for creating and managing all of your tasks, including “All Tasks,” “To Schedule,” and “To Invoice.”
You can see the dashboard list of all of the tasks available in the Odoo 16 Field Service Module within the “All Tasks” window shown in the screenshot below.
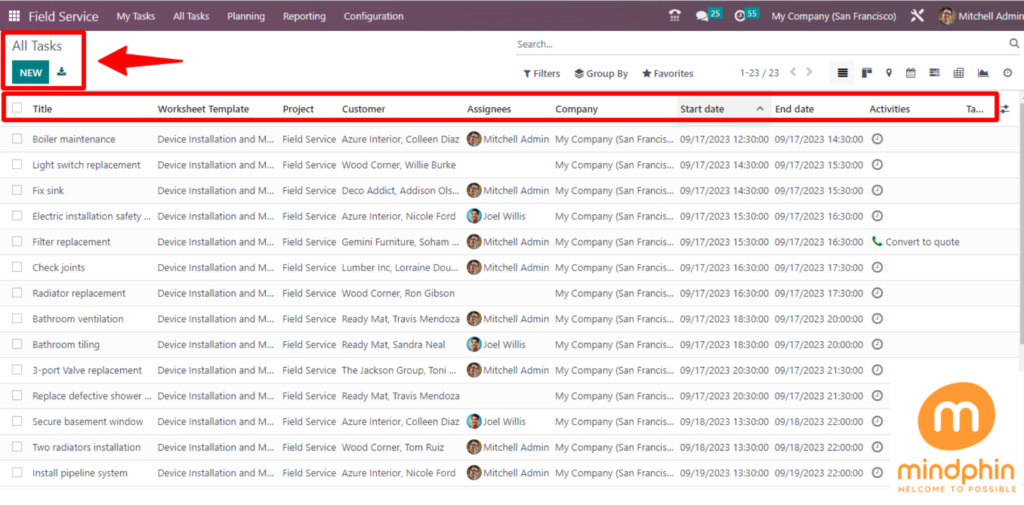
You can view information about tasks, worksheet templates, projects, clients, assignees, companies, start and finish dates, actions, and tags in a window. You can manage the existing tasks on this page. Clicking on any task column will open its details, or you can create new tasks using the “New” button.
To Schedule Menu
The field service tasks that are waiting to be scheduled will be shown in the “To Schedule” menu section of the “All Tasks” menu.
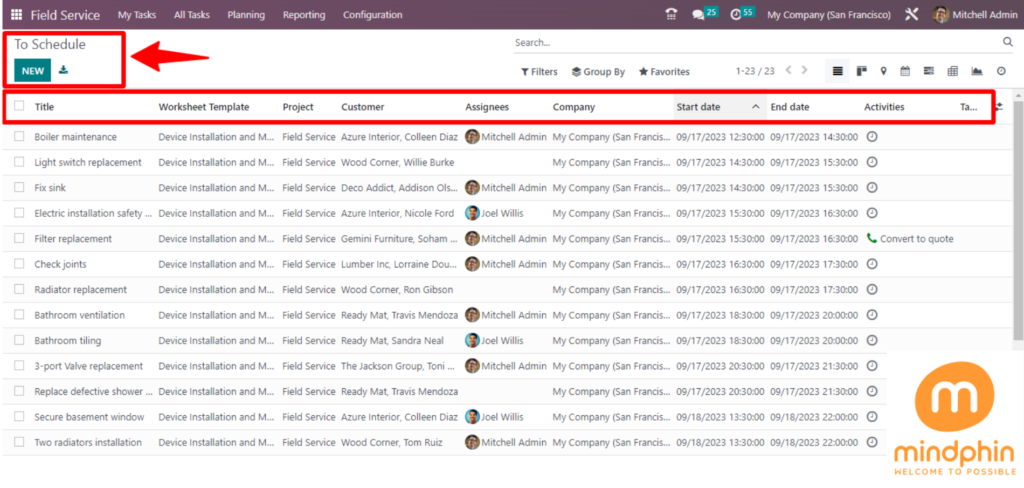
Similarly to the previous window, the options and settings of this window can be filtered by Task name, Worksheet template, Project, Customer, etc. The activities that need to be planned can be previewed by these attributes. The “New” button allows you to schedule new tasks.
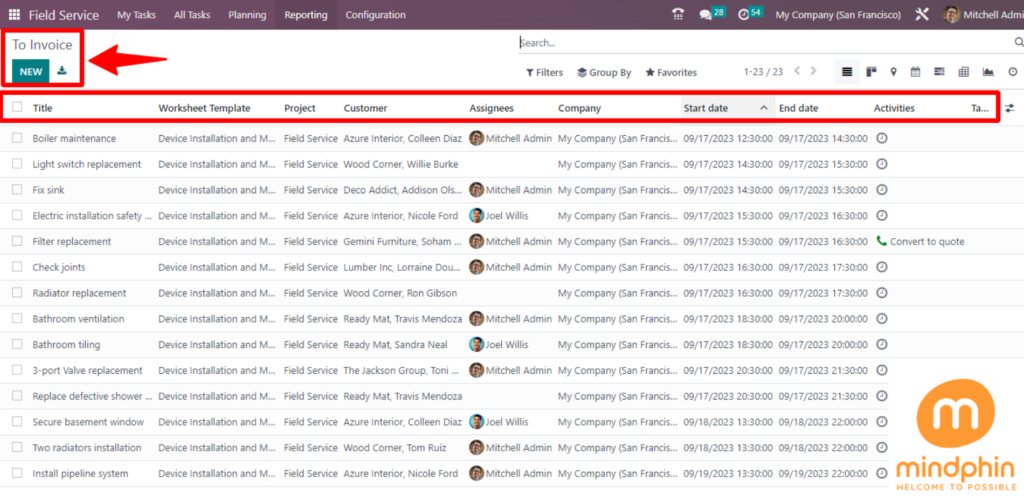
To Invoice Menu
You will get the list of every task that needs to be invoiced from the “To Invoice” option of the “All Tasks” menu. Each of your tasks that have been completed and awaiting to be invoice will be automatically added to this section, so you can easily manage them all.
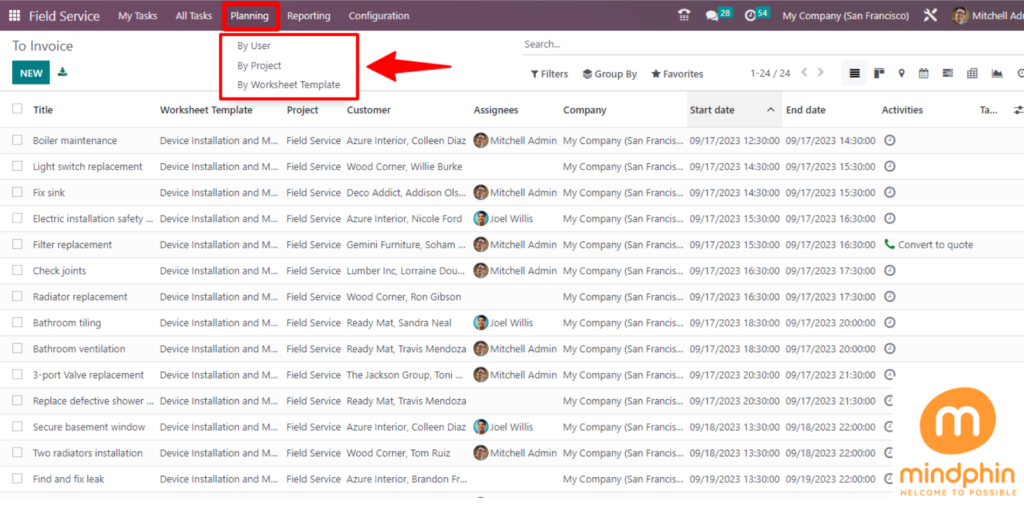
Planning Menu
We can schedule our tasks and inspect them on a Gantt chart using the planning menu offered by the field service application platform. Task analysis and scheduling are aided by this, enhancing effectiveness. “By User,” “By Project,” and “By Worksheet Template” are available options.
Planning By User
According to the Gantt chart depiction in the top right, all tasks scheduled for the chosen employees will appear in the Planning By User pane, depending on the day, week, month, and year in which it is displayed. Projects or worksheets may provide details about planned tasks, respectively, by selecting the Planning By Project and Planning By Worksheet options.
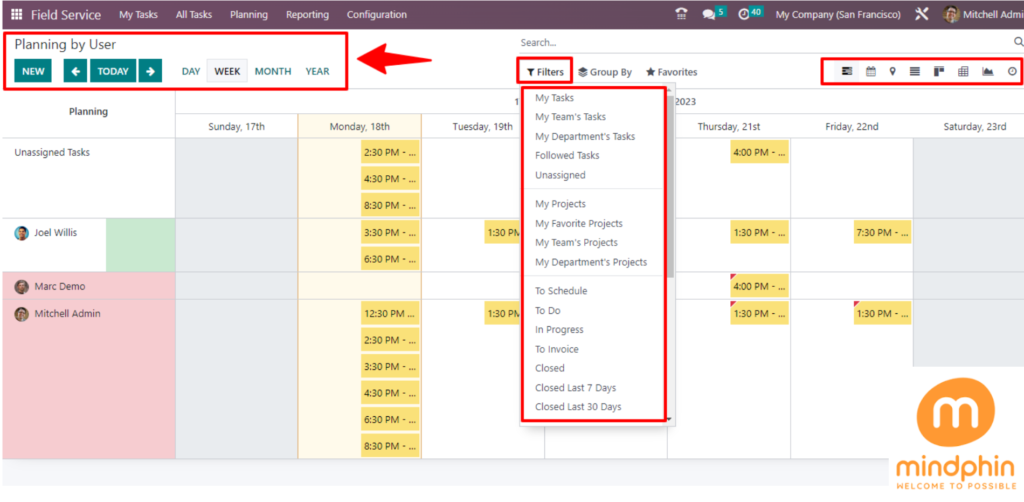
Filter, Group By, and Favourites are among the sorting and filtering options available on the planning pages in Odoo. You can have the ability to switch the planning page’s display between List, Kanban, Map, and Calendar. Filter choices help organize essential information, and we can generate new personalized filters by selecting the “Add Custom Filter” option from the dropdown menu.
Planning By Project
You can view and handle tasks project-wise in Odoo 16 using the “By project” planning approach, which also enables you to build several projects across various teams or locations.
By clicking on the respective icons, The List, Kanban, Map, and Calendar versions of the planning page may be switched over by clicking on the corresponding icons. On this planning page, you can also sort and filter your results using Favorites, Group By, and Filter options.

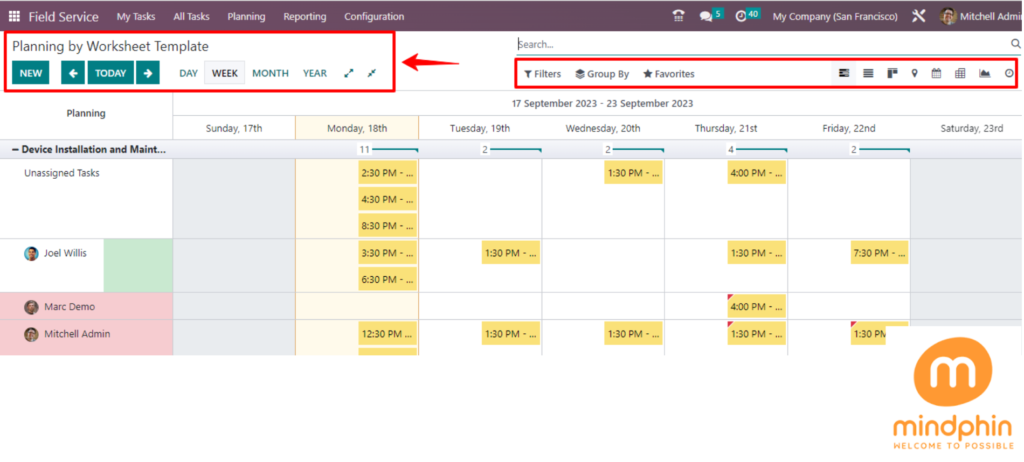
Planning By Worksheet Template
The three planning options accessible in the Odoo 16 Field services that have been scheduled for the chosen employees will be shown in the Planning By User pane. The viewpoint may change depending on the day, week, month, and year. You may get details on the planned tasks depending on the project or worksheet.
By selecting the “New” button in the page’s upper left corner, you can start a new plan. By clicking on the respective buttons in the page’s top right corner, as shown in the image above, you can alter the planning page’s view to one of the several options, including List, Kanban, Map, Calendar, etc. Within the Filter, Group By, and Favourites choices, Odoo also provides a range of sorting and filtering options for this data.
Reporting Menu
This platform can assist you in assessing various field service tasks using the “Reporting” menu in the Odoo 16 Field Services Module. This report provides a comprehensive view of the “Task Analysis” you may have entered into the module.
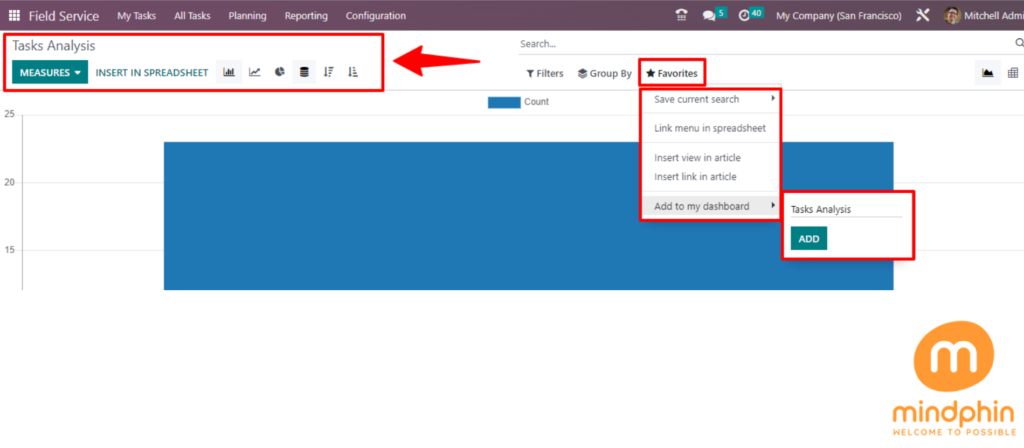
By using “Filters” and “Group By” options, Odoo 16 Field Service enables efficient and systematic analysis. There are many graphical and pivot views available, so users can choose what’s right for them. In the MEASURES section, you can choose from a variety of options to create specialized reports, such as Effective Days, Overtime, Days to Deadline, Progress, Remaining Days, Planned Days, Remaining Hours, Working Days to Assign, and Count.
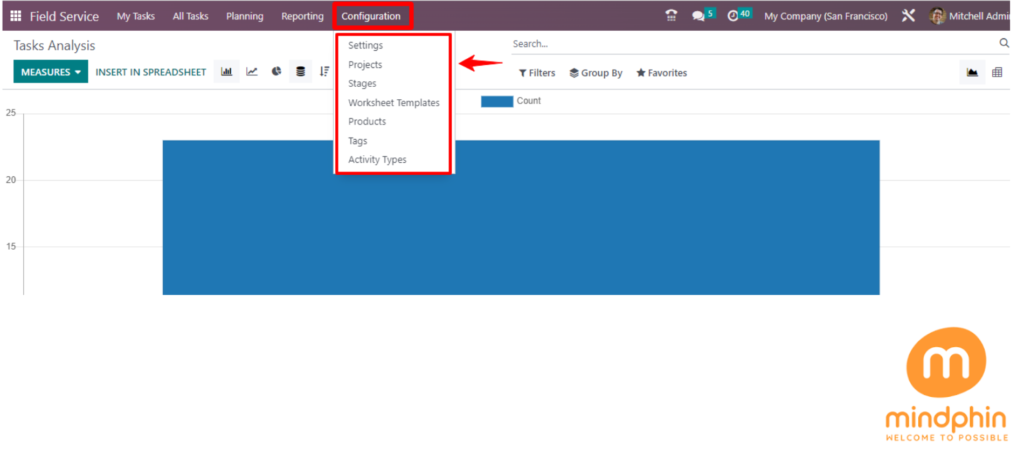
Configuration Menu
The configuration menu includes seven options in a dropdown menu that includes “Settings,” “Projects,” “Stages,” “Worksheet Templates,” “Products,” “Tags,” and “Activity Types,” as illustrated in the screenshot below.
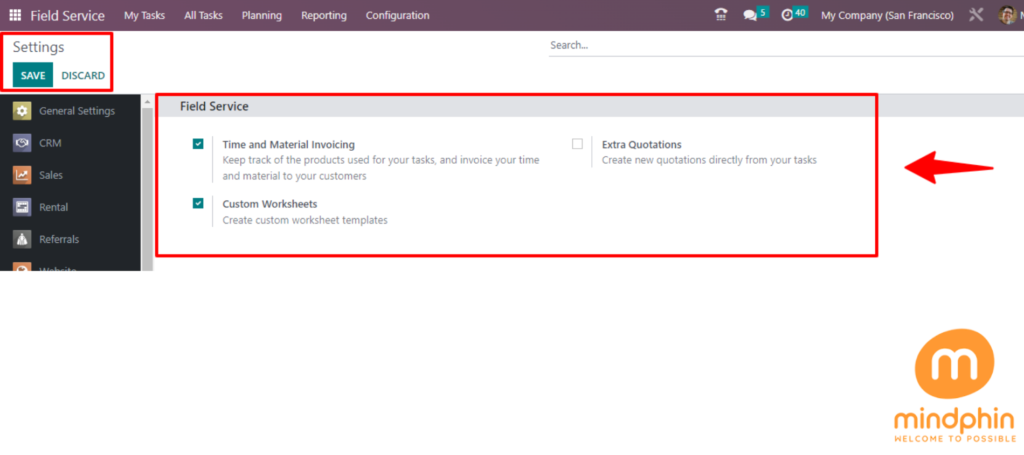
Settings
“Processing Time and Materials Invoices,” “Custom Worksheets,” and “Extra Quotations” can be found in the “Settings” menu, which can be used to keep track of expenses, bill customers, create special templates, and generate fresh quotations directly from processes.
Projects
Field Service module can be configured to create projects based on the services you provide. We can easily add tasks to existing projects if they are part of the same category. By enabling the Project menu in the Configuration menu, you can create brand-new tasks more easily. Select “Project” from the Configuration menu to access this functionality.

On this platform, a list of the projects that were previously made will be visible. The Name, Worksheet Template, Company, Start Date, End Date, Allocated Hours, Project Manager, and Stage are all displayed as a dashboard list. Initiate a new project by clicking the New button.
Stages
Each project generated can be arranged according to its stage, so that you are able to quickly grasp its current status. This is also an effective method of monitoring each project’s progress. The various stages of each project are arranged and sorted based on their names. In order to switch a project from one stage to another, we need to consider how well it is progressing. Users can easily customize new project stages by selecting the “Stages” option under the “Configuration” menu.
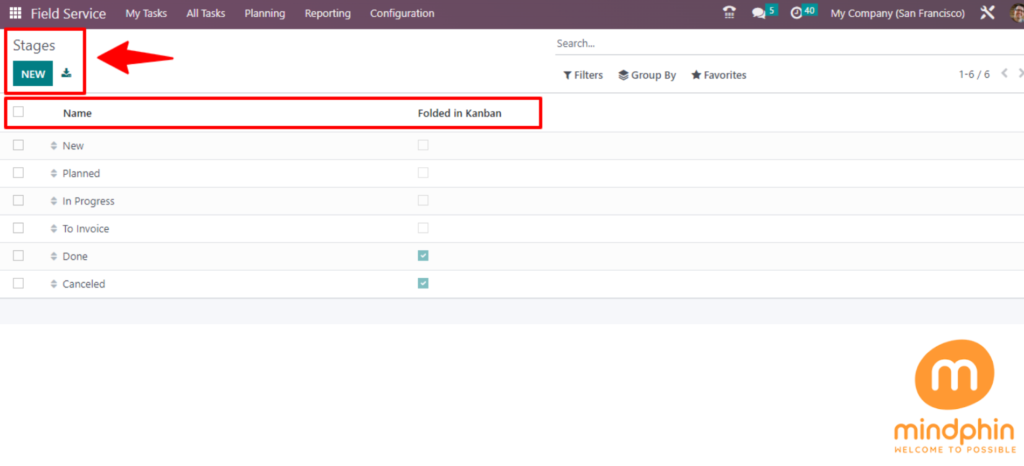
It is easy to fold the stages in a Kanban card by enabling the “Folded in Kanban” buttons given on each column, and also it is easy to create new customized stages using the “NEW” button.
Worksheet templates
When the task is completed, provide the client with these Excel reports and ask for their signature. Worksheet templates will be helpful for tracking staff timesheets for specific assignments or projects. Users can access the “Worksheet Templates” platform through the module’s “Configuration” option, as shown in the image below.
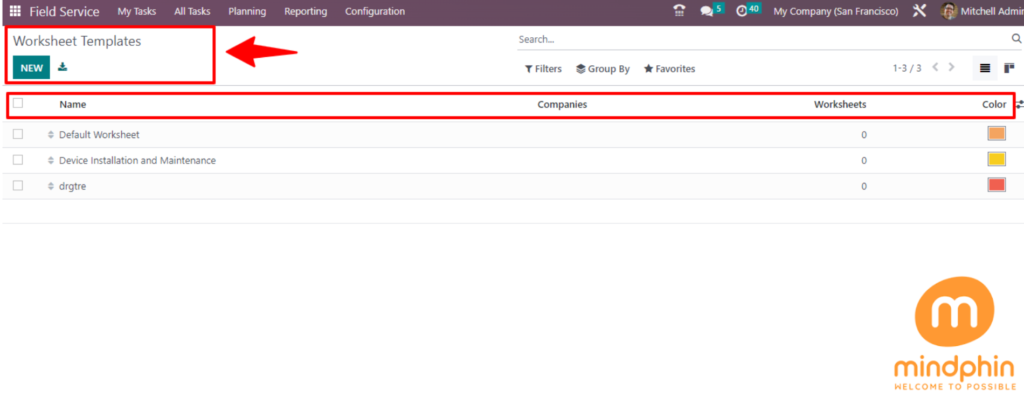
Worksheet Templates can now be accessed on the dashboard according to their Names, Companies, Worksheets, and Tag Colors. New worksheet templates can be created or existing templates can be chosen. By selecting the “New worksheet Templates” option, we can create a new worksheet.
Products
Various tasks, such as installation, repair, and servicing, require different equipment and materials. In the “Configuration” menu, the “Products” option allows users to manage and track these resources.
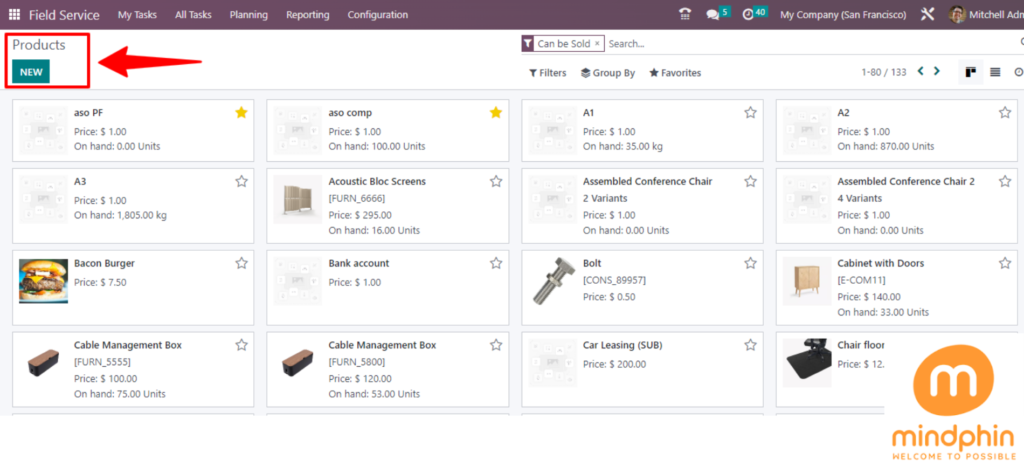
Users have access to a sizable list of goods and materials in the displayed “Product” dashboard window. You can edit them by selecting and opening the Kanban view. Creating a new product can be easily done using the “NEW” button.
Tags
Field Service users can search for specific jobs or projects by labeling tasks with pertinent terms. Tags are available on the “Configuration” menu dropdown to assist with queries and filtering.
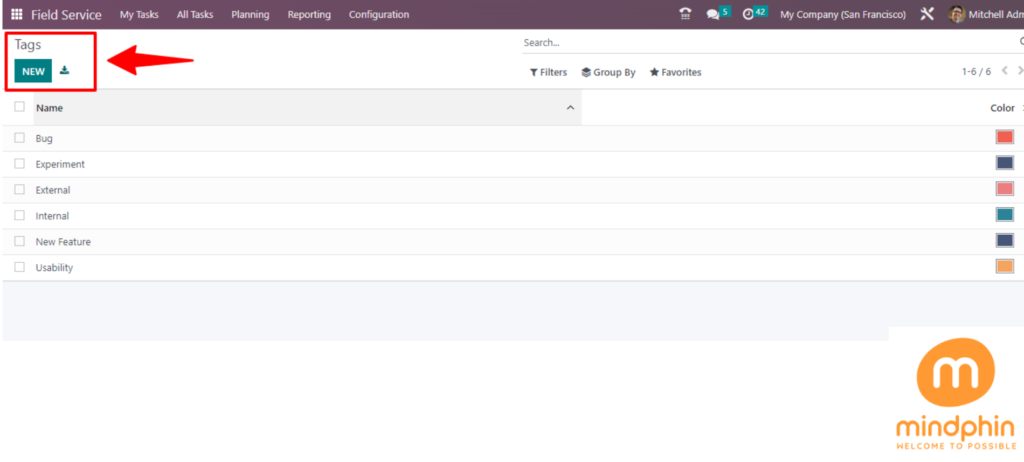
In the “Tags” dashboard window, a list of previously generated tags is visible. The “New” button in the tags section allows for the creation of new ones.
Activity types
The activity types feature in Odoo 16 makes it easy to select different activity types for sales and customer management modules. Customers can connect by using pre-scheduled programs. By selecting the “Activity Types” option from the Field Service module’s “Configuration” menu, you can create a variety of project-related activities for your staff and clients.
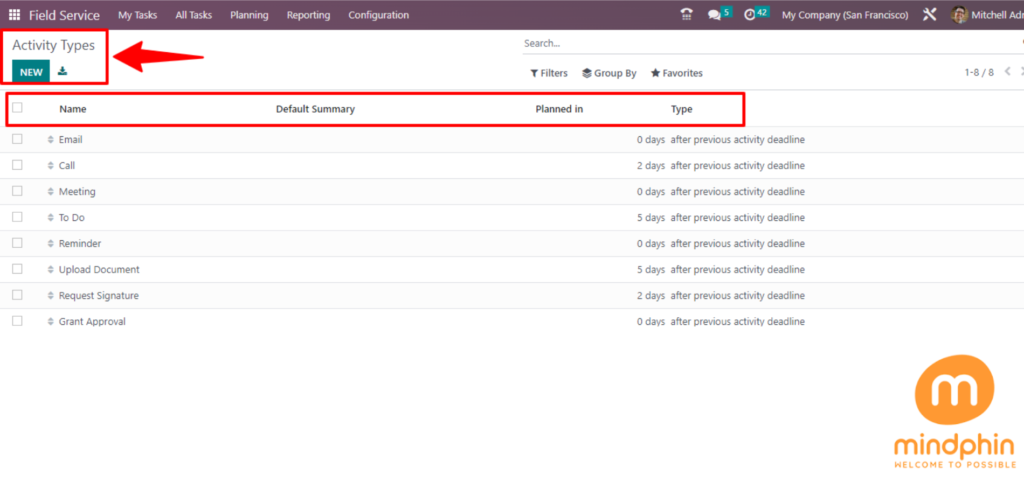
The “Activity Types” window will be displayed with their Name, Default summary, Planned In, and Type to establish a recent, personalized Activity Type for your business, click the “NEW” button.
These are the functionalities available in the Odoo 16 Field Services application platform. You can handle Field service-related activities effectively and diligently with the help of the Odoo 16 Field Service module.
To read more about the important features of field services, kindly refer to Part- 2
TAGS: FIELD, FIELDSERVICE, FIELDSERVICEMANAGEMENT, MANAGEMENT, ODOOFIELDSERVICE, ODOOTASKS, SERVICE, WORKSHEETTEMPLATES