
The Entire WhatsApp Integration setup in Odoo
In this blog gives an overview of WhatsApp Integration In the Odoo 17 Of the WhatsApp Module.
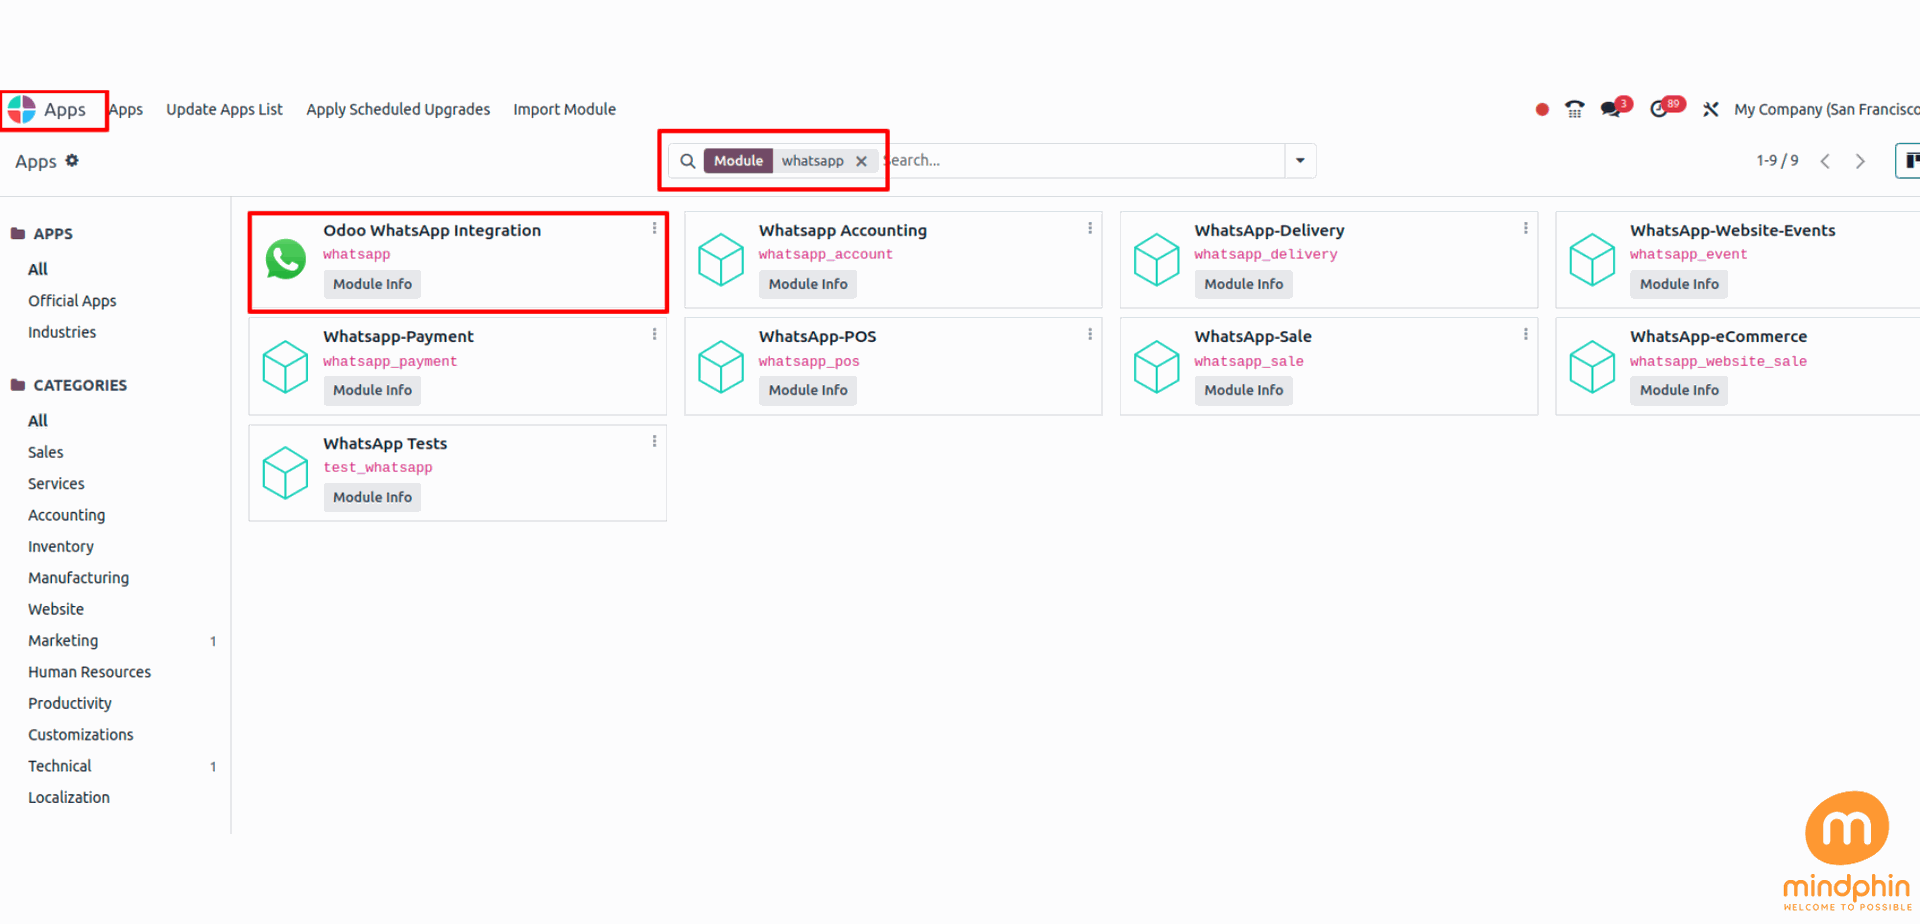
Step 1: Install the WhatsApp
Go to your Odoo Instance > Go to Apps > Search as “ WhatsApp” (Odoo WhatsApp Integration) > Click on the Activate
Step 2: Get Registered on the https://developers.facebook.com/
Register your existing Facebook id and create a new Facebook developer account.
Go to https://developers.facebook.com/ > Get Started > and Register first > Fill the necessary details.
Step 3: Add/Create a New App on the Developers Account
[ Note: Every App will have a unique API that is generated to be used in the Configuration.]
- Now click on the Create App and select "Other" option and then click on Next Button.
- Then Choose the Type of your App and Click on Next Button.
- Now, fill the required details (Ex; Name of the App, Email I'd, etc.) then choose the "No Business Manager account selected" as Business Account
After fill the above details Click on "Create App".
Step 4: Add/Setup WhatsApp to the Created App
Now Go to the WhatsApp > Click on Setup
Step 5: Create a Facebook Business Account on https://business.facebook.com/
Incase you don't have a facebook business account already existant on your i'd then you need to create a new one here.
[Note: Facebook ensures that only Genuine businesses can be use on this plateform.
There are chances that facebook may restrict your account initially and ask for additional verification
Using an email id with the business domain may help facebook authenticate the business easily.]
- Click on the Create Account and then fill the necessary details (Ex; Business name, your name and business email.) and Click on the "Submit" Button.
Now, in the WhatsApp > API Settings > you can see the WhatsApp Business Plateform API. In that you have to 'Select a Meta Business Account'.
After perform all the above steps you have to go to https://business.facebook.com/
In there you can see your Created "Business Account". and after selecting your app you have to click on the "Continue" Button on your https://developers.facebook.com/
Now, In the https://developers.facebook.com/ go to the WhatsApp option > Click on the API Setup.
Step 5: Add the Phone Number to use the WhatsApp on the Odoo Instance
On adding whatsapp to the app we do get 1 test number with API to configure.
For now we will add the actual number that we intend to use with the app.
[Note: There should be no whatsapp account associated with this number
If the number is being used on the whatsapp mobile then the account needed to be "DELETED" from the accounts settings there.]
Now click on "Add Phone Number" and fill your business information (Ex; Business Name, Business website or profile page and Country.) and click on "Next" Button.
Here you'll create WhatsApp Business profile and choose your "Business Category" and "Business Description" and click on the "Next" Button.
After fill all the above details you have to add your phone number.for whatsapp.
Select your Country Number > Add your Phone Number > Select option between 'Text Message' or 'Phone Call' and click on the "Next" Button.
Fill the OTP and complete the process.
Step 6: Configuring the WhatsApp Business account on Odoo WhatsApp Connector
Go to your Odoo Dashboard > WhatsApp Module > Configurations > WhatsApp Business Account > Click on "New".
To configure WhatsApp on your Odoo Instance you'll need all these configurations from the https://developers.facebook.com/
- Phone Number I'd
- Account I'd
- Acess Token
- App ID
- App Secret
After that, you have to copy above things and put into your Odoo WhatsApp.
First three(3) configurations you'll get from the WhatsApp > API Setup (under the https://developers.facebook.com/)
Last Two(2) configurations you'll get from the App Settings > Basic (under the https://developers.facebook.com/)
[Note: This above configuration is for sending the WhatsApp]
Now, Go to your Odoo WhatsApp Application and copy "Callback URL" and "Webhook Verify Token" and put it into the https://developers.facebook.com/
To do this Kindly follow the below steps:
Go to the https://developers.facebook.com/ > WhatsApp > Quickstart > Configurations > Webhooks > Configure Webhooks > Edit > put/paste the Callback URL" and "Webhook Verify Token" in that > Verify and Save.
[IMPORTANT: After doing this steps you need to do "TEST CONNECTION" and then "SYNC TEMPLATES".]
[Note: If your credentials are valid then when you click on the "Test Connection" you'll get one message that "Credentials are Valid".]
Step 7: Configuring webhooks
To configure the webhooks for WhatsApp in Odoo, navigate to https://developers.facebook.com/apps and select the app that Odoo is being configured in. Next under the WhatsApp menu heading on the left side of the screen, click on the API Setup menu item.
Step 8: Webhook fields
Now input individual webhook fields into Meta’s developer console, under the Webhook fields section. Click Manage and when the pop-up window appears, check the boxes in the Subscribe column for the following field names:
- account_update
- message_template_quality_update
- message_template_status_update
- messages
- template_category_update
After making the selections, click Done.
The finished Webhooks configuration will appear like this in the Meta developer console.
[SS]
Step 9: Generate Permanent Token Number
After configuration and testing are complete, a permanent token should be created to replace the Temporary token.
See also Meta for Developers: System User Access Tokens: https://developers.facebook.com/docs/whatsapp/business-management-api/get-started#system-user-access-tokens
Begin by navigating to https://business.facebook.com/ and then go to Business settings > User > System Users. Select an existing system user or create a new system user by clicking on Add.
Assets now must be added to the system user and then a permanent token can be generated.
Click on Add assets, and when the pop-up window appears select Apps under the Select asset type. Then, select the Odoo app and toggle the permissions to On under the Full control option. Set this new permission setting by clicking Save Changes, to which a confirmation window will appear, acknowledging the addition of the asset to the system user. Finish by clicking Done.
Next, the permanent token will be generated. Click on Generate new token, and a pop-up window will appear asking which app this token should be generated for. Select the App that this token is for. Then determine the expiration date of either '60 days' or 'Never'.
Finally, when Meta asks which permissions should the system user allow, add all of the following permissions:
- WhatsApp_business_messaging
- WhatsApp_business_management
When permissions are set, click Generate token. Copy the token value that populates on the screen that follows.
With that token value, update the Access Token field in the WhatsApp business account in Odoo by navigating to WhatsApp app > Configuration > WhatsApp Business Accounts. and again do "Test Connection".
Step 10: Go live with the Meta app
Finally, to launch the app, the Meta app must be set to Live in the Meta developer console. Navigate to https://developers.facebook.com/apps and click on the app that is being configured. In the top menu, toggle the App Mode field from Development to Live.
[Note: Once the app has gone live in the Meta developer console, a confirmation email is sent to the administrator.]
Step 11: Create New WhatsApp templates
WhatsApp templates are pre-saved messages that can be repeatedly used to send messages from the database. They optimize communication by enabling users to send consistent messages without the need for repetitive drafting.Customizing templates for different scenarios enables users to choose the perfect message for each audience, resulting in higher message quality and increased customer engagement.
WhatsApp templates can be set up on both the Odoo and Meta consoles. This guide will explain the process of creating templates in Odoo first, followed by Meta.
After Sync the templates through the WhatsApp Application > Configuration > WhatsApp Business Accounts you can easily create an New Templates through the Templates Menu.
Go to the Templates Menu > Click on "New" Button > Fill the required details.
Afer doing this steps you need to "Approve" the template.
Also to use Pre- Configured templates, navigate to WhatsApp app > Templates and select a pre-configured template. Click 'Submit for Approval' to start the approval process.